The Twelve-Point Shakedown: Getting Your Van Road-Ready After a Layoff
A caravan that has been standing is not the same caravan that was parked. Nothing dramatic happens — it is all small, cumulative and entirely predictable. Which is why a methodical walk-round before the first tow of the year is the cheapest hour you will spend all season.
Think of it less as winter storage admin and more as an MOT mindset: you are not looking for reasons to worry, you are looking for the handful of things that are quietly out of kilter. Fourteen items on a car MOT and typically two advisories. Expect a similar hit rate here.
Start with a coffee and a clipboard
Book an hour when it is daylight, dry and not the morning you are supposed to leave. Wear old clothes. Take photographs as you go, particularly of tyre sidewalls and the hitch area — useful if you later need to describe a fault to an engineer.
Part one: the parts that roll and stop
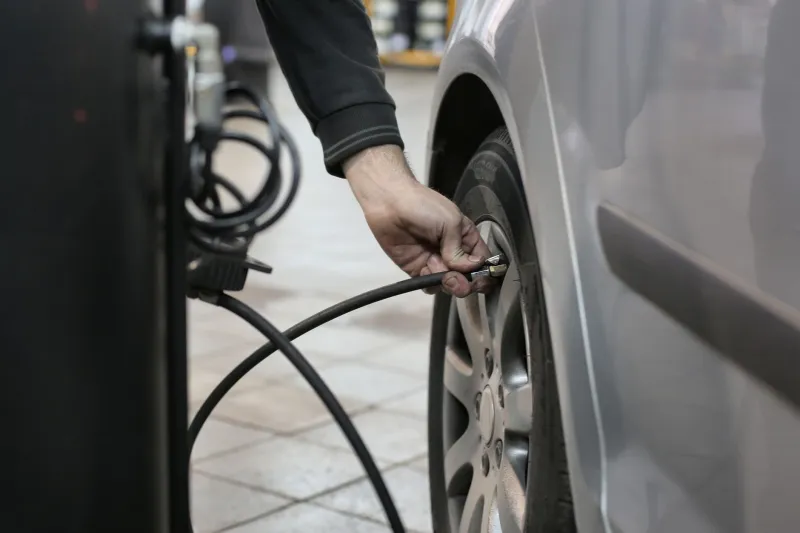
1. Tyres — age before tread. Caravan tyres rarely wear out; they age out. Look at the four-digit DOT code on the sidewall, which reads as week and year (3502 means the 35th week of 2002... and yes, that ancient van in the corner of the storage yard is running on them). Most specialists advise replacement at five to seven years regardless of tread, and sooner if you can see cracking between the tread blocks or perishing at the shoulder. Check pressures cold, against the plate on the van rather than the tyre wall, and remember twin-axle vans often run different pressures front and rear.
2. Wheels, studs and the spare. Torque wrench on the wheel nuts, in the correct sequence, to the manufacturer's figure. Then dig out the spare, check its age and pressure, and confirm the jack and brace are actually in the van and not in the garage at home.
3. Brakes and the overrun. With the van hitched, wheels chocked and handbrake off, pull forward gently and listen for the overrun damper engaging and releasing. A dumper that clunks like a dropped anvil needs looking at. Then check the handbrake will hold on a slope and that the cables are not frayed or corroded.
4. Hitch, stabiliser and breakaway cable. Grease the towball — but never the friction pads of a stabiliser — and check the pads for glazing or contamination. The breakaway cable should be replaced if the carabiner is bent, worn through the coating, or has been used to actually break away. They are a few pounds and not a consumable to be economised on.
Part two: the parts that light and charge
5. Electrics, plug to plug. Connect up and test every function with a second person watching: sidelights, brake lights, indicators, fog lights, reversing lights, and the fridge/charging circuit on the 13-pin. Corrosion in the pins is the classic layoff fault — a squirt of contact cleaner and a few push-fits usually sorts it.
6. Battery health. A leisure battery left unattended loses capacity quietly. Put a smart charger on it a week before you leave and check it holds above 12.4 volts at rest. If it has been flat since October, it is almost certainly compromised and will drop out at eleven o'clock at night halfway through a weekend.
7. Charger, 12-volt circuits and the habitation check. Switch on every 12-volt item in turn — pump, lights, extractor, fridge on gas and 12-volt — and confirm the on-board charger is pushing the voltage up when hooked to mains. An EHU lead with a cracked plug or a missing lid is a common and easy find.
Part three: the parts that smell
8. Damp — nose and eyes. Open every locker, every cupboard and the under-bed storage. A musty, sweetish smell is the first signal. Then feel the corners: around windows, under the front locker, behind the wheel arches, and the floor along the walls. A cheap damp meter is worth having; readings above roughly 15–20% on a timber-framed van warrant a conversation with an Approved Workshop Scheme engineer.
9. Gas lines. Check the cylinder date (cylinders have a 10-year lifespan in the UK), inspect the hose for cracking — hoses have a recommended replacement interval typically around five years — then do a bubble test on every joint with soapy water. If you have any doubt at all, pay for a professional tightness test. This is not the check to improvise.
10. Water system. Flush the tank, run the pump, and check for drips at the pump housing, the water heater and under the sink. Puriclean or a similar food-safe steriliser through the system before the first trip, and check the waste pipes are not perished.
Part four: the parts that carry
11. Loading and noseweight. Empty the van fully first — you would be astonished what has been quietly living in the front locker since last summer. Then reload deliberately, keeping heavy items low and over the axle. Aim for around 5–7% of the van's MTPLM as noseweight, measured with a proper gauge at the height of your towball, and check you are within both the car's towball limit and the van's hitch limit. Take it to a public weighbridge if you have never confirmed your laden weight.
12. Paperwork and a second opinion. Insurance in date, breakdown cover that actually covers the caravan (many policies cover the car only — read the small print), CRiS details to hand, and a servicing record. If the van has not had a damp and gas check in over a year, book it into an NCC Approved Workshop before the big trip rather than after.
Choosing a gentle first tow
Do not make the first journey of the year a 200-mile motorway run in the dark. Pick a site twenty or thirty miles away, on A-roads you know, and go mid-morning on a weekday when the roads are quiet. That first tow is really a test drive: you will hear the brakes settle, feel the noseweight, and discover the rattles that only appear when everything is warm.
Take the tool kit. Take the torque wrench. Take a flask. If something feels wrong, pull over and check — the hard shoulder is a far better place to find a loose wheel nut than the outside lane.
Where to get help
Most towns have a mobile caravan engineer who will come to a storage yard, which saves towing a caravan you are not yet sure about. Look for NCC Approved Workshop Scheme accreditation, and ask neighbours on the storage site who they use — the caravanning grapevine is remarkably well informed.
The van has been patient. Give it an hour and a clipboard, and it will repay you with a season of unremarkable, uneventful towing. Which is, of course, exactly what you want.